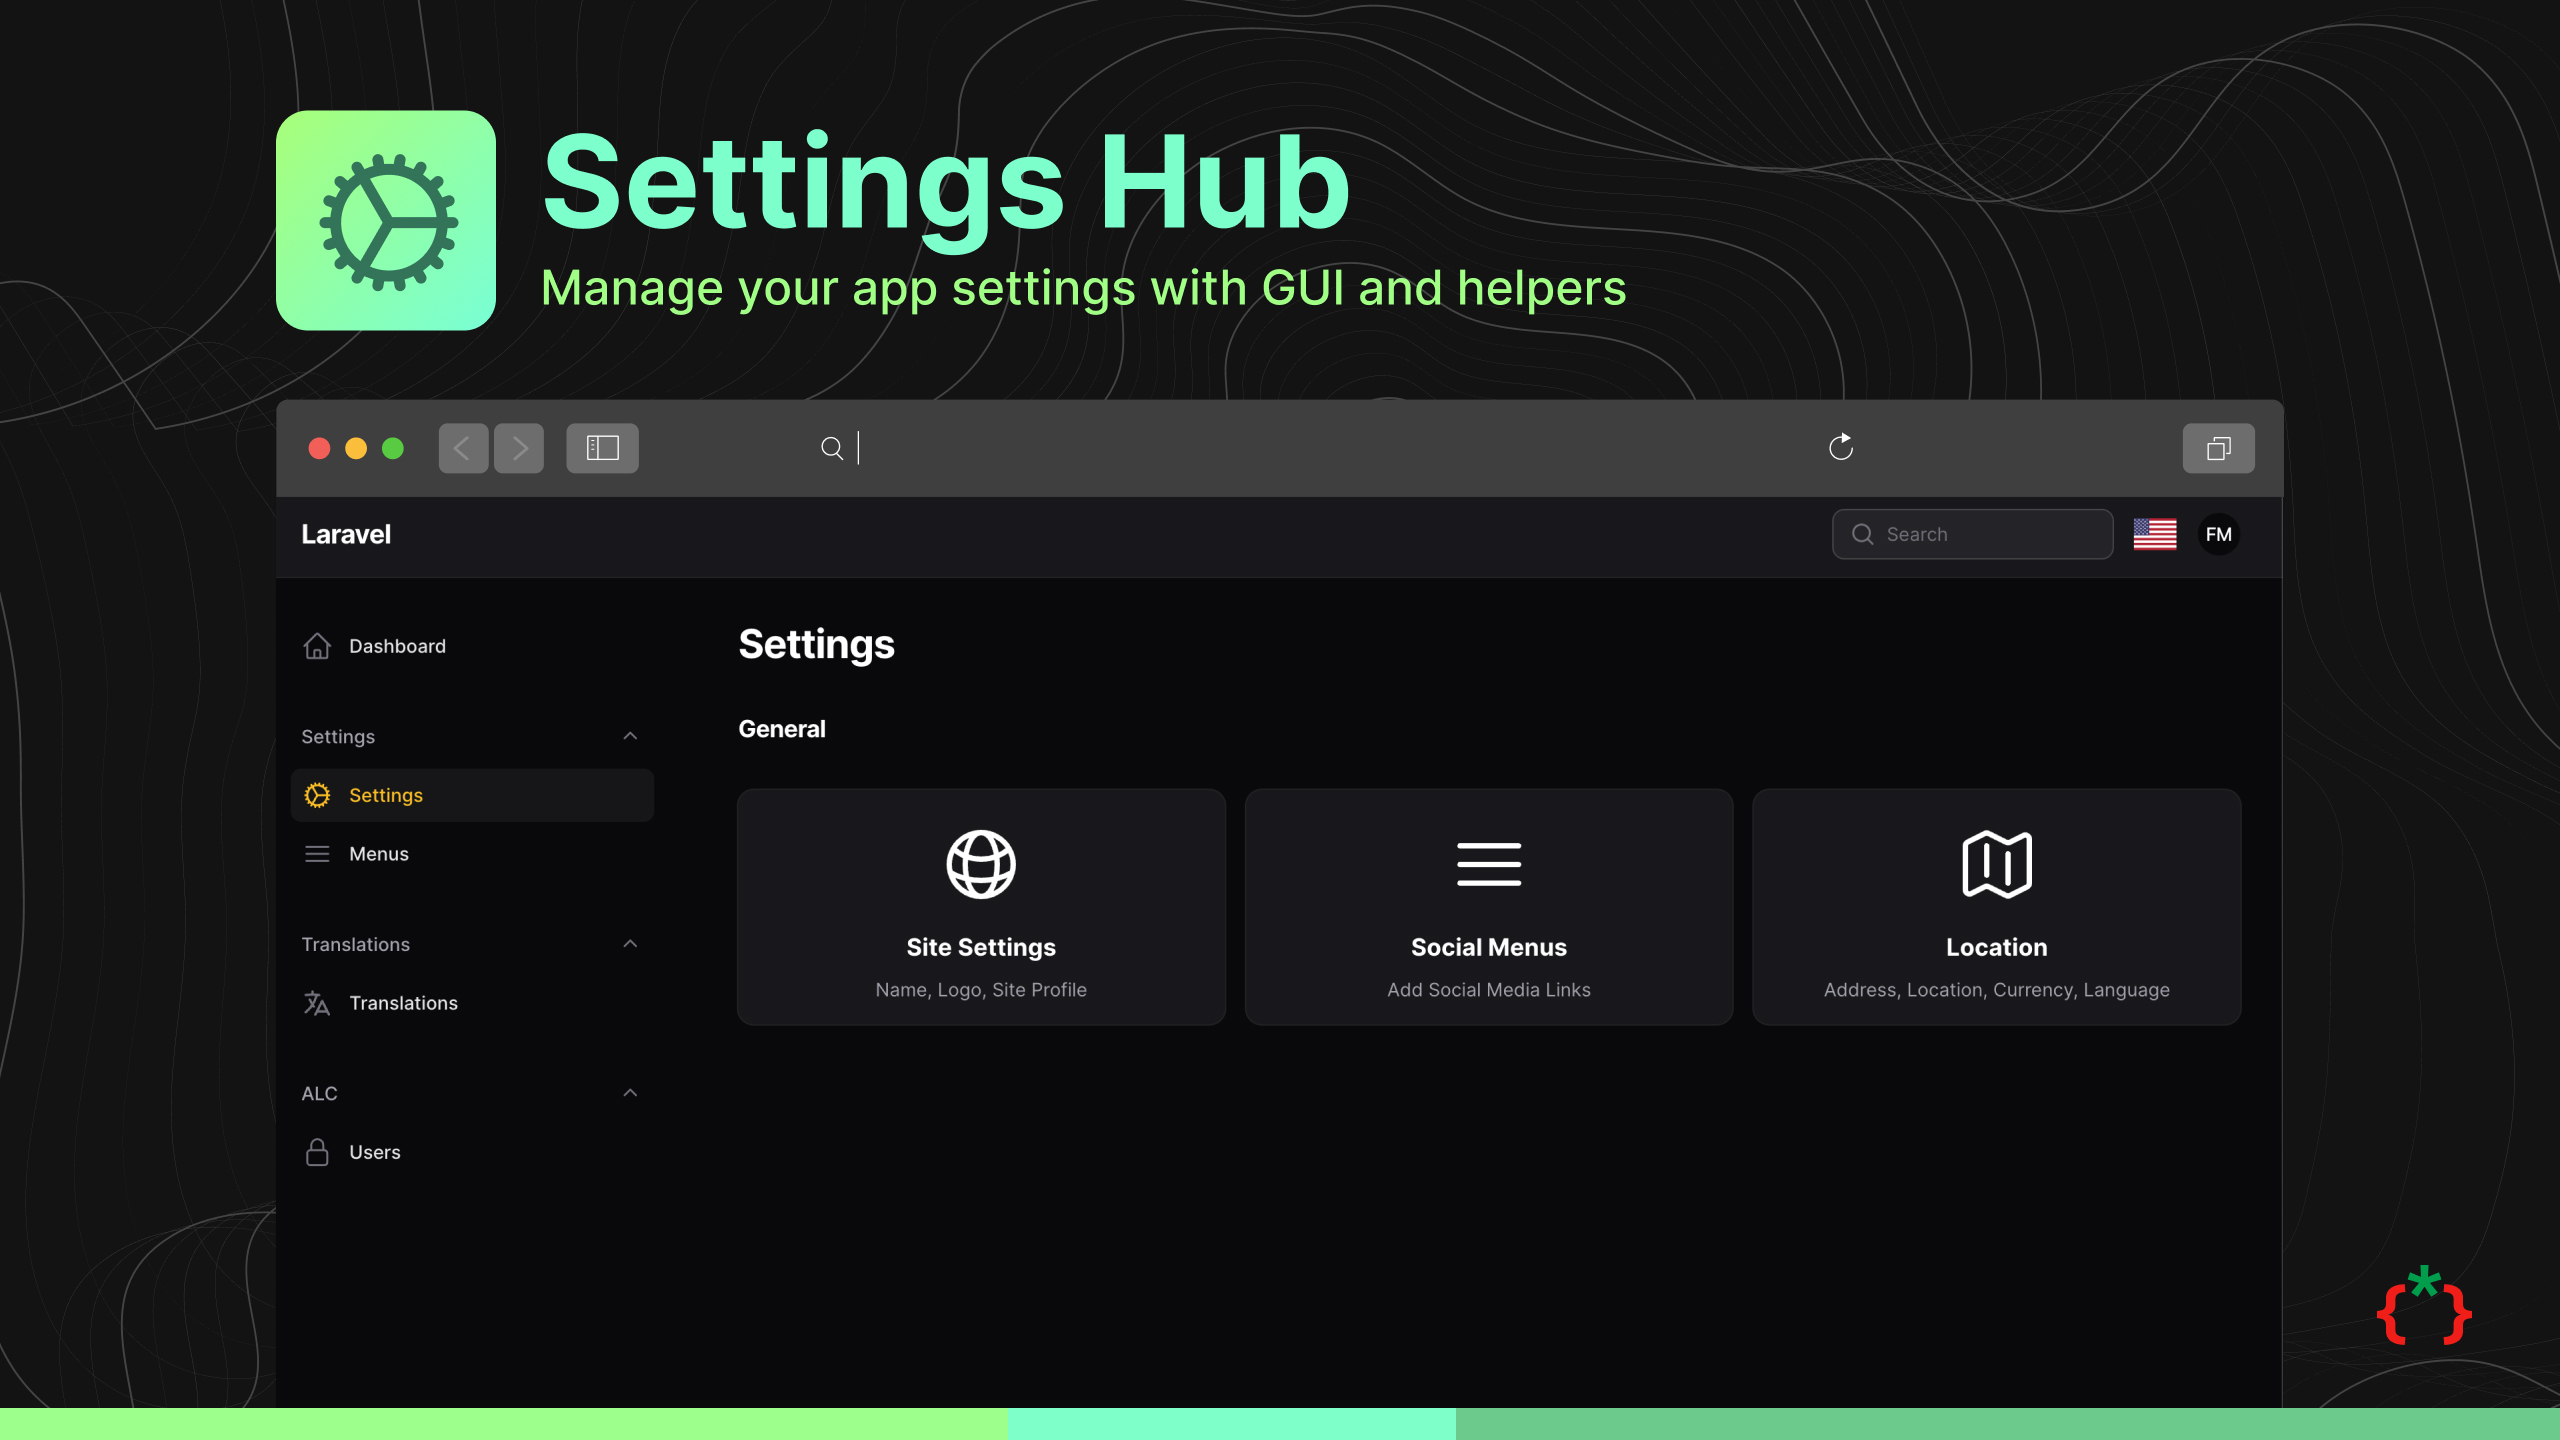
juniyasyos / filament-settings-hub-kaido
Manage your Filament app settings with GUI and helpers
Installs: 585
Dependents: 1
Suggesters: 0
Security: 0
Stars: 0
Watchers: 1
Forks: 0
Open Issues: 0
pkg:composer/juniyasyos/filament-settings-hub-kaido
Requires
- php: ^8.2|^8.3|^8.4
- filament/filament: ^4.0
- filament/notifications: ^4.0
- filament/spatie-laravel-settings-plugin: ^4.0
- ramsey/uuid: ^4.7
- spatie/laravel-sitemap: ^7.3
- tomatophp/console-helpers: ^1.1
Requires (Dev)
- genealabs/laravel-model-caching: ^12.0
- laravel/pint: ^1.21
- livewire/livewire: ^3.0
- nunomaduro/larastan: ^3.1
- orchestra/testbench: ^10.0
- pestphp/pest: ^3.7
- pestphp/pest-plugin-laravel: ^3.1
- pestphp/pest-plugin-livewire: ^3.0
- phpstan/extension-installer: ^1.4
- phpstan/phpstan-deprecation-rules: ^2.0
- phpstan/phpstan-phpunit: ^2.0
README
Filament Settings Hub
Manage your Filament app settings with GUI and helpers
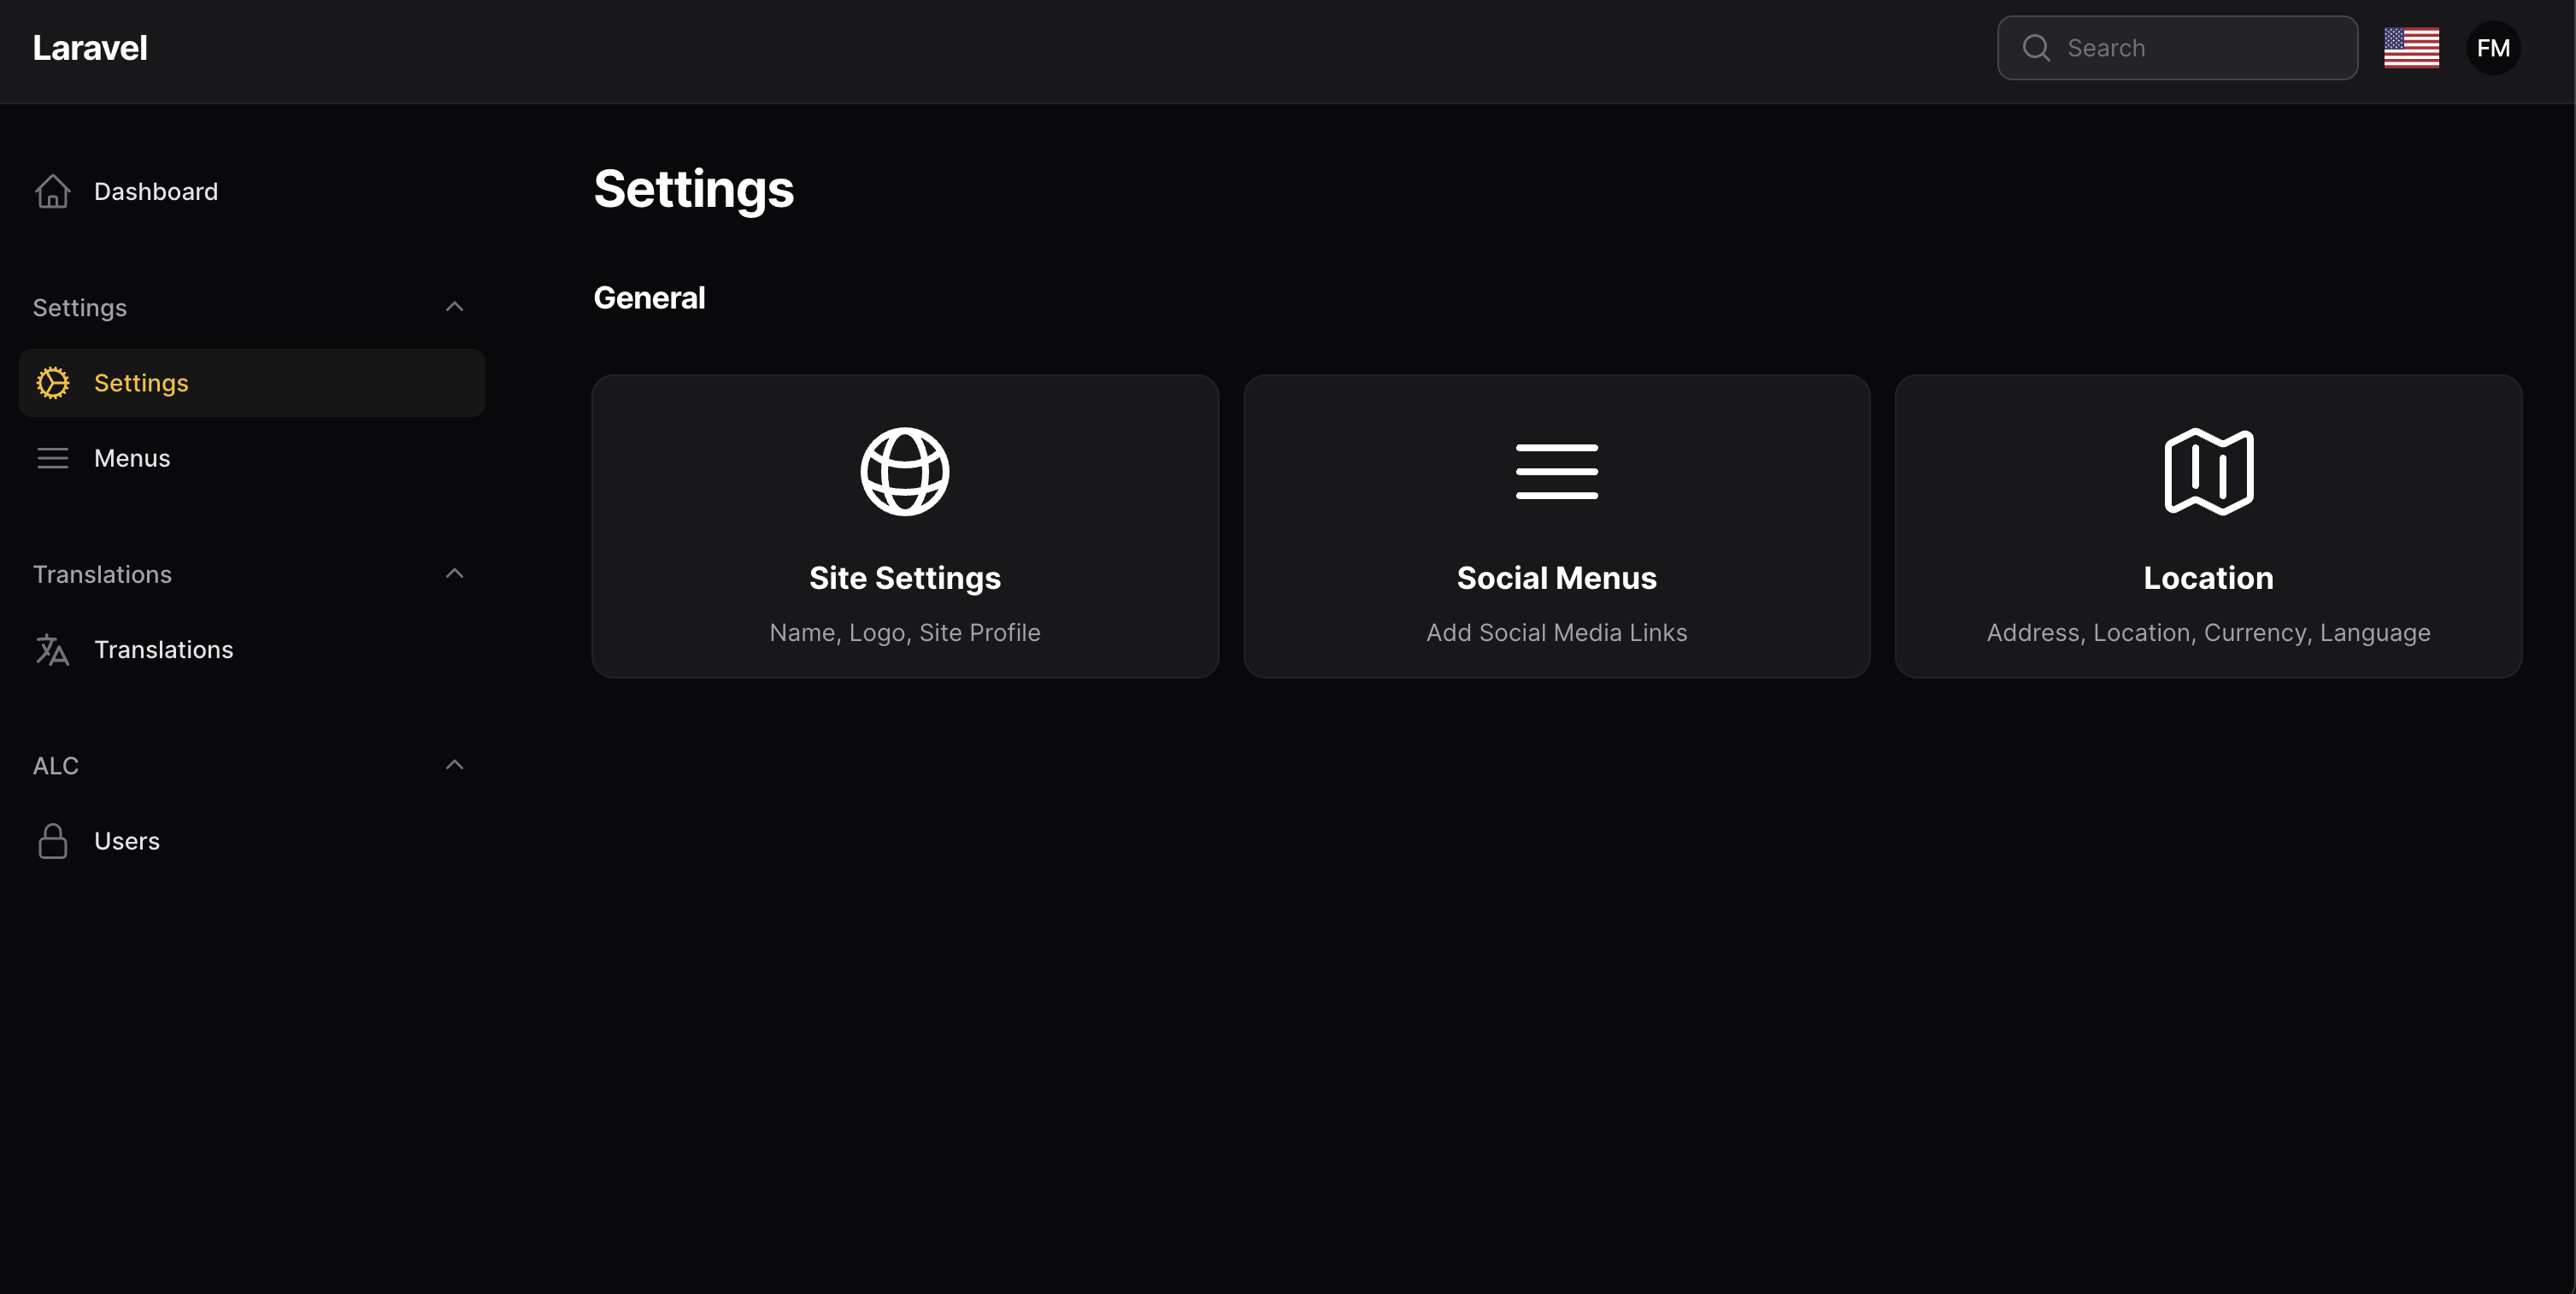
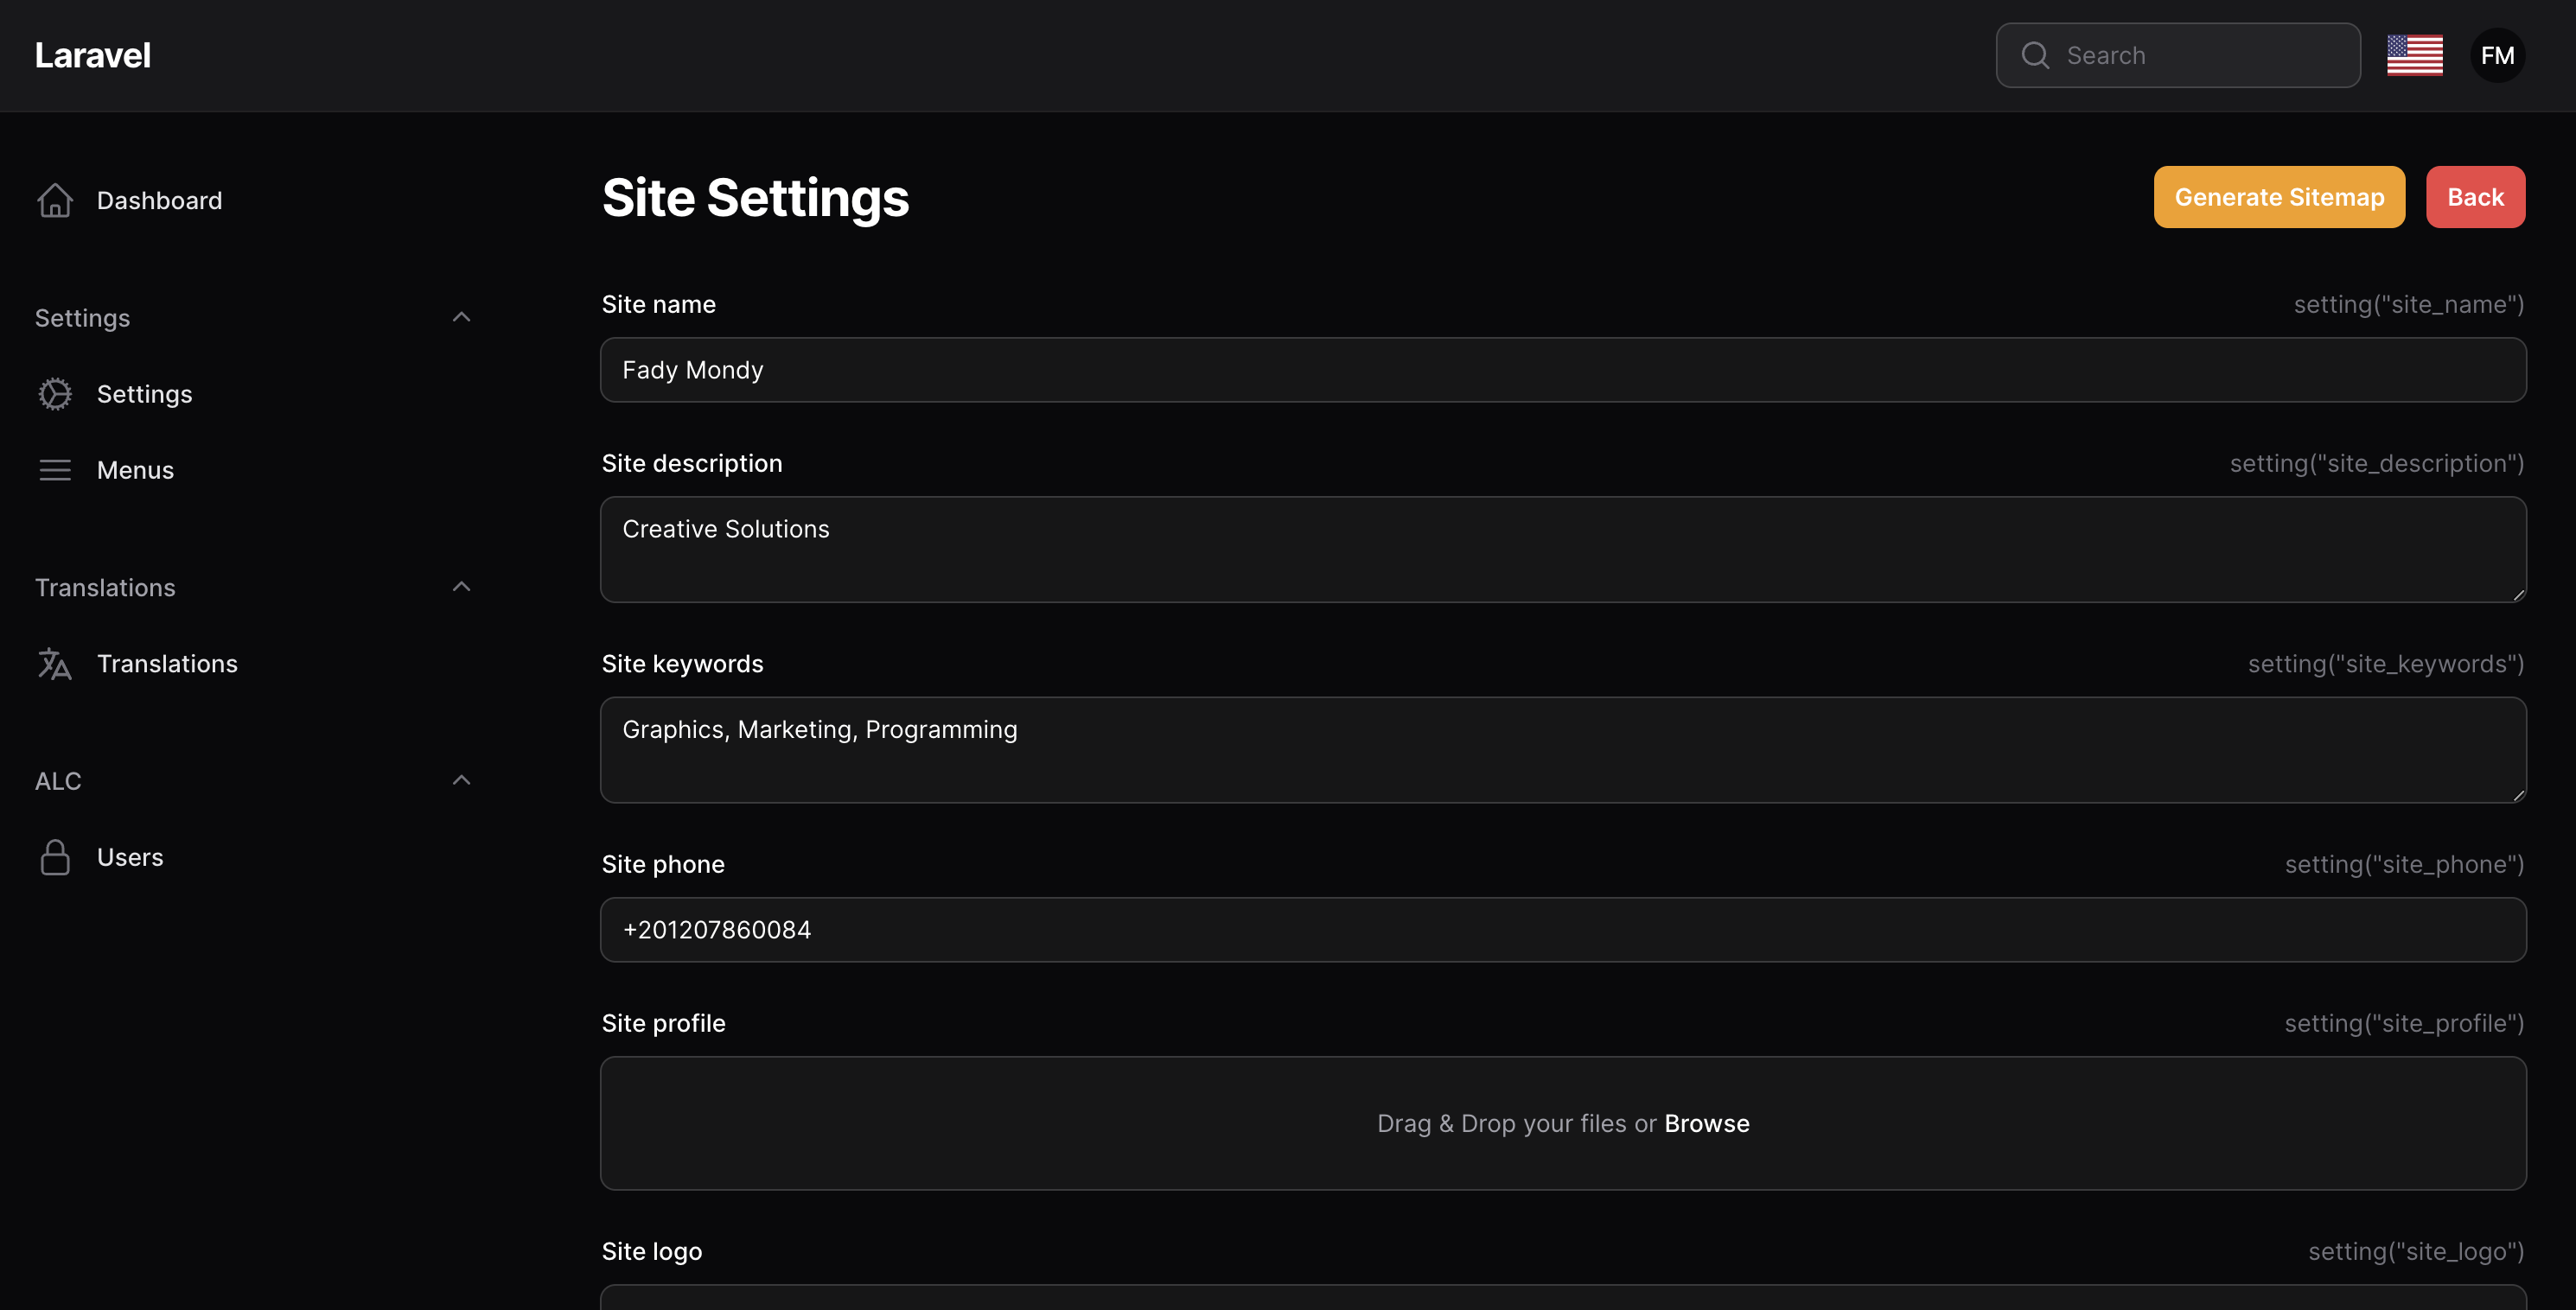
Screenshots
Installation
composer require tomatophp/filament-settings-hub
now you need to publish and migrate settings table
php artisan vendor:publish --provider="Spatie\LaravelSettings\LaravelSettingsServiceProvider" --tag="migrations"
after publish and migrate settings table please run this command
php artisan filament-settings-hub:install
finally reigster the plugin on /app/Providers/Filament/AdminPanelProvider.php
->plugin(
    \Juniyasyos\FilamentSettingsHub\FilamentSettingsHubPlugin::make()
        ->allowLocationSettings()
        ->allowSiteSettings()
        ->allowSocialMenuSettings()
)
Usage
you can use this package by use this helper function
settings($key);
to register new setting to the hub page you can use Facade class on your provider like this
use Juniyasyos\FilamentSettingsHub\Facades\FilamentSettingsHub;
use Juniyasyos\FilamentSettingsHub\Services\Contracts\SettingHold;

FilamentSettingsHub::register([
    SettingHold::make()
        ->order(2)
        ->label('Site Settings') // to translate label just use direct translation path like `messages.text.name`
        ->icon('heroicon-o-globe-alt')
        ->route('filament.admin.pages.site-settings') // use page / route
        ->page(\Juniyasyos\FilamentSettingsHub\Pages\SiteSettings::class) // use page / route
        ->description('Name, Logo, Site Profile') // to translate label just use direct translation path like `messages.text.name`
        ->group('General') // to translate label just use direct translation path like `messages.text.name`,
]);
and now you can see your settings on the setting hub page.
we have a ready to use helper for currency settings
dollar($amount)
it will return the money amount with the currency symbol
Allow Shield
to allow filament-shield for the settings please install it and config it first then you can use this method
->plugin(
    \Juniyasyos\FilamentSettingsHub\FilamentSettingsHubPlugin::make()
        ->allowShield()
)
to make a secure setting page just use this trait
use Juniyasyos\FilamentSettingsHub\Traits\UseShield;
Publish Assets
you can publish config file by use this command
php artisan vendor:publish --tag="filament-settings-hub-config"
you can publish views file by use this command
php artisan vendor:publish --tag="filament-settings-hub-views"
you can publish languages file by use this command
php artisan vendor:publish --tag="filament-settings-hub-lang"
you can publish migrations file by use this command
php artisan vendor:publish --tag="filament-settings-hub-migrations"
Filament Spatie Laravel Backup
This package provides a Filament page that you can create backup of your application. You'll find installation instructions and full documentation on spatie/laravel-backup.
Installation
You can install the package via composer:
composer require Juniyasyos/filament-backup
Publish the package's assets:
php artisan filament:assets
You can publish the lang file with: `
php artisan vendor:publish --tag="filament-spatie-backup-translations"
Usage
You first need to register the plugin with Filament. This can be done inside of your PanelProvider, e.g. AdminPanelProvider.
<?php

namespace App\Providers\Filament;

use Filament\Panel;
use Filament\PanelProvider;
use Juniyasyos\FilamentLaravelBackup\FilamentLaravelBackupPlugin;

class AdminPanelProvider extends PanelProvider
{
    public function panel(Panel $panel): Panel
    {
        return $panel
            // ...
            ->plugin(FilamentLaravelBackupPlugin::make());
    }
}
If you want to override the default Backups page icon, heading then you can extend the page class and override the navigationIcon property and getHeading method and so on.
<?php

namespace App\Filament\Pages;

use Juniyasyos\FilamentLaravelBackup\Pages\Backups as BaseBackups;

class Backups extends BaseBackups
{
    protected static ?string $navigationIcon = 'heroicon-o-cpu-chip';

    public function getHeading(): string | Htmlable
    {
        return 'Application Backups';
    }

    public static function getNavigationGroup(): ?string
    {
        return 'Core';
    }
}
Then register the extended page class on AdminPanelProvider class.
<?php

namespace App\Providers\Filament;

use Filament\Panel;
use Filament\PanelProvider;
use App\Filament\Pages\Backups;
use Juniyasyos\FilamentLaravelBackup\FilamentLaravelBackupPlugin;

class AdminPanelProvider extends PanelProvider
{
    public function panel(Panel $panel): Panel
    {
        return $panel
            // ...
            ->plugin(
                FilamentLaravelBackupPlugin::make()
                    ->usingPage(Backups::class)
            );
    }
}
Customising the polling interval
You can customise the polling interval for the Backups by following the steps below:
<?php

namespace App\Providers\Filament;

use Filament\Panel;
use Filament\PanelProvider;
use Juniyasyos\FilamentLaravelBackup\FilamentLaravelBackupPlugin;

class AdminPanelProvider extends PanelProvider
{
    public function panel(Panel $panel): Panel
    {
        return $panel
            // ...
            ->plugin(
                FilamentLaravelBackupPlugin::make()
                    ->usingPolingInterval('10s') // default value is 4s
            );
    }
}
Customising the queue
You can customise the queue name for the Backups by following the steps below:
<?php

namespace App\Providers\Filament;

use Filament\Panel;
use Filament\PanelProvider;
use Juniyasyos\FilamentLaravelBackup\FilamentLaravelBackupPlugin;

class AdminPanelProvider extends PanelProvider
{
    public function panel(Panel $panel): Panel
    {
        return $panel
            // ...
            ->plugin(
                FilamentLaravelBackupPlugin::make()
                    ->usingQueue('my-queue') // default value is null
            );
    }
}
Customising the timeout
You can customise the timeout for the backup job by following the steps below:
<?php

namespace App\Providers\Filament;

use Filament\Panel;
use Filament\PanelProvider;
use Juniyasyos\FilamentLaravelBackup\FilamentLaravelBackupPlugin;

class AdminPanelProvider extends PanelProvider
{
    public function panel(Panel $panel): Panel
    {
        return $panel
            // ...
            ->plugin(
                FilamentLaravelBackupPlugin::make()
                    ->timeout(120) // default value is max_execution_time from php.ini, or 30s if it wasn't defined
            );
    }
}
For more details refer to the set_time_limit function.
You can also disable the timeout altogether to let the job run as long as needed:
<?php

namespace App\Providers\Filament;

use Filament\Panel;
use Filament\PanelProvider;
use Juniyasyos\FilamentLaravelBackup\FilamentLaravelBackupPlugin;

class AdminPanelProvider extends PanelProvider
{
    public function panel(Panel $panel): Panel
    {
        return $panel
            // ...
            ->plugin(
                FilamentLaravelBackupPlugin::make()
                    ->noTimeout()
            );
    }
}
Customising who can access the page
You can customise who can access the Backups page by adding an authorize method to the plugin.
The method should return a boolean indicating whether the user is authorised to access the page.
<?php

namespace App\Providers\Filament;

use Filament\Panel;
use Filament\PanelProvider;
use Juniyasyos\FilamentLaravelBackup\FilamentLaravelBackupPlugin;

class AdminPanelProvider extends PanelProvider
{
    public function panel(Panel $panel): Panel
    {
        return $panel
            // ...
            ->plugin(
                FilamentLaravelBackupPlugin::make()
                     ->authorize(fn (): bool => auth()->user()->email === 'admin@example.com'),
            );
    }
}
Upgrading
Please see UPGRADE for details on how to upgrade 1.X to 2.0.
Testing
composer test
Changelog
Please see CHANGELOG for more information on what has changed recently.
Contributing
Please see CONTRIBUTING for details.
Security Vulnerabilities
Please review our security policy on how to report security vulnerabilities.
Credits
License
The MIT License (MIT). Please see License File for more information.


