
icetalker / filament-chatgpt-bot

Integrate with OpenAI ChatGPT
Requires
- php: >=7.4
- illuminate/contracts: ^9.0|^10.0|^11.0|^12.0|^13.0
- livewire/livewire: ^3.0|^4.0
- orhanerday/open-ai: ^4.7|^5.0
- spatie/laravel-package-tools: ^1.14.0
Requires (Dev)
- laravel/pint: ^1.0
- nunomaduro/collision: ^7.9|^8.1
- nunomaduro/larastan: ^2.0.1
- orchestra/testbench: ^8.0
- pestphp/pest: ^2.0
- pestphp/pest-plugin-arch: ^2.0
- pestphp/pest-plugin-laravel: ^2.0
- phpstan/extension-installer: ^1.1
- phpstan/phpstan-deprecation-rules: ^1.0
- phpstan/phpstan-phpunit: ^1.0
Suggests
None
Provides
None
Conflicts
None
Replaces
None
README
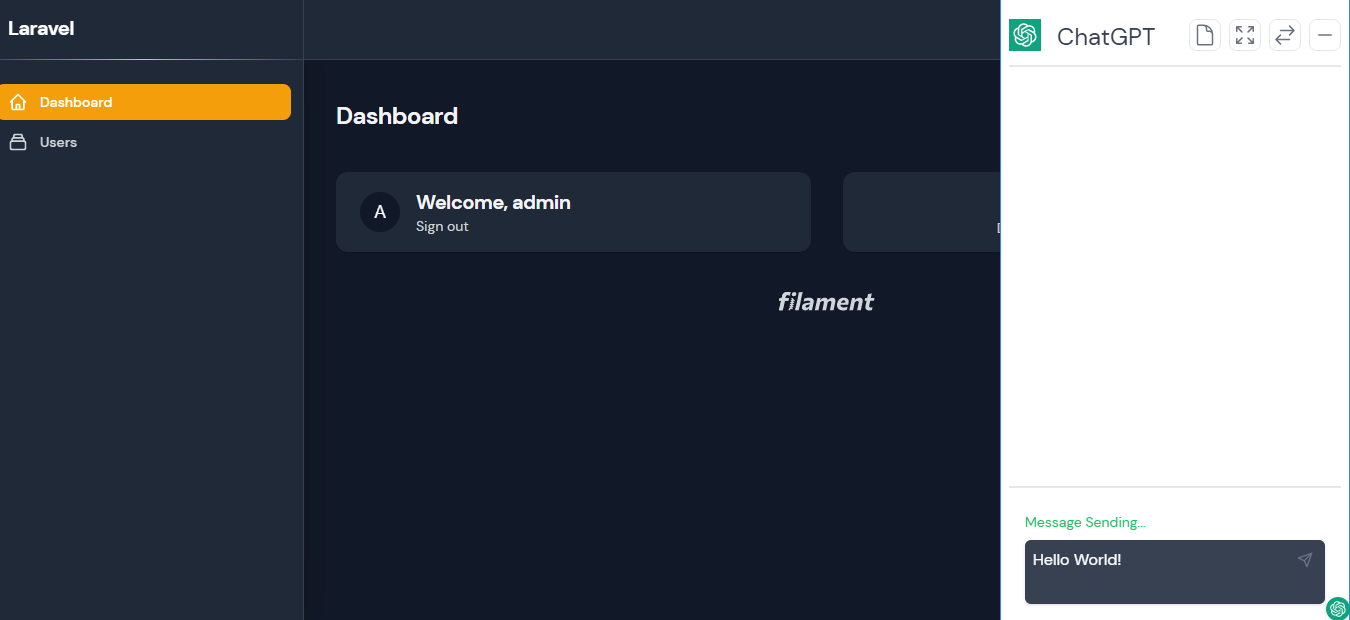
Filament ChatGPT Bot is a filament plugin that allow you to use ChatGPT out of the box within Filament Application.
Preview:
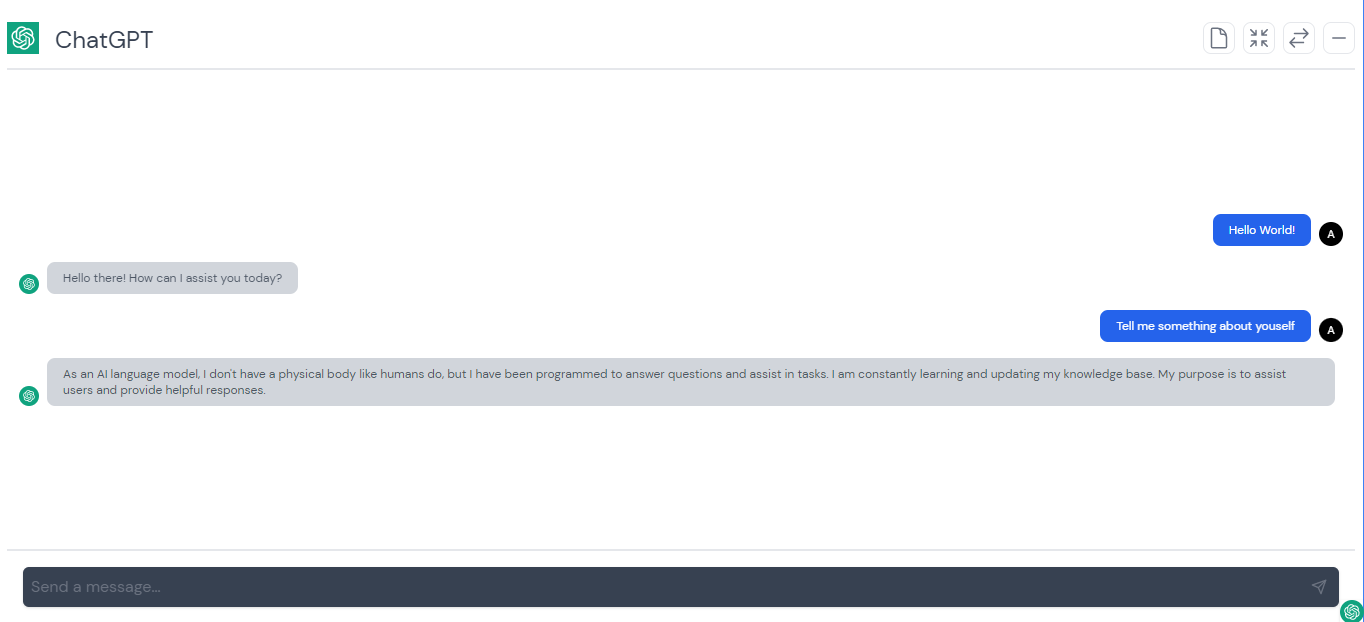
 Full Screen:
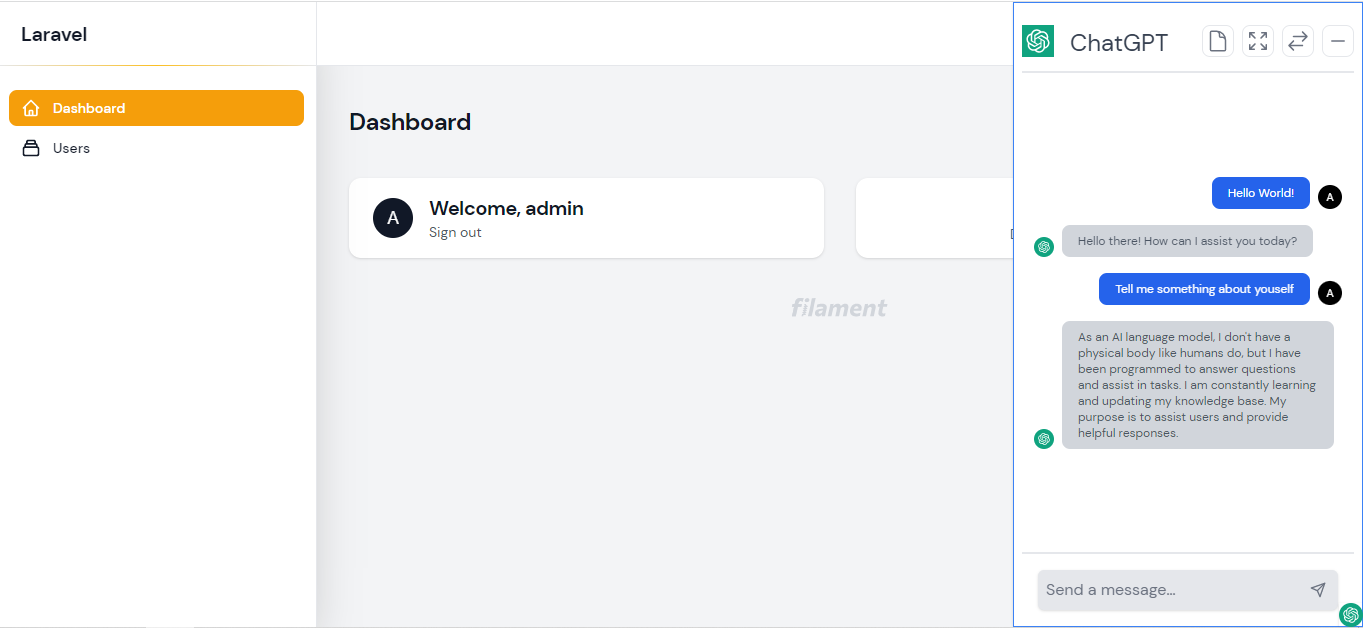
 Light Mode:
Features
- Integrate with ChatGPT
- Easy to Setup
- Shortcut allows control of panel in more convenient way
- Support for dark mode
Installation
First, you can install the package via composer:
composer require icetalker/filament-chatgpt-bot
For Filament V2, Please lock the the version to v0.1.*:
composer require icetaker/filament-chatgpt-bot:"v0.1.3"
Publish
Publish Config File
Next, you can publish the config files with:
php artisan vendor:publish --tag="filament-chatgpt-bot-config"
This will create a configuration file locate in config/filament-chatgpt-bot.php, and you can set up the Chatbot by setting envirnoment in .env:
CHATBOT_ENABLE = true #default to be true, no need to set unless you would like to disable it.

OPENAI_API_KEY=sk-...
Go to admin panel, you will see a small icon in gray color on the bottom-right corner of every page. Click the icon, you will then see a chat panel. And now you can talk to OpenAI ChatGPT with the chat panel.
By optionally adding the OPENAI_PROXY to .env file, you could use http proxy to connect ChatGPT. Example as below:
OPENAI_PROXY=127.0.0.1:8080
For more options, please check in
config/filament-chatgpt-bot.php;
Now, the default model is gpt-5.6-sol. You can change the GPT model to what you need by setting OPENAI_MODEL in .env file:
OPENAI_MODEL =
Publish CSS File
Filament will pulish and link to the css file automatically. For regular Laravel project, you could publish it using:
php artisan vendor:publish --tag="filament-chatgpt-bot-css"
View
Optionally, you can publish the views using
php artisan vendor:publish --tag="filament-chatgpt-bot-views"
More
- By defult, there is a small chatgpt icon on bottom-right corner of admin panel after the package installed. You could disable it by setting
enabletofalseinconfig/filament-chatgpt-bot.phpfiles:
'enable' => false,
or in .env:
CHATBOT_ENABLE = false;
This may require you publish config files.
- You could also render it in Panel Configuration like this:
public function panel(Panel $panel): Panel
{
    return $panel
        // ...
        ->renderHook(
            'panels::body.end',
            fn (): string => auth()->check() ? Blade::render('@livewire(\'livewire-ui-modal\')') : '',
        );
}
Set
enable=trueinconfig/filament-chatgpt-bot.phpfiles, if you like to render it in Panel Configuration.
- Alternatively, you can add it to any blade file within livewire page if you like to do it manually;
<body>
    ...

    @livewire('filament-chatgpt-bot')
</body>
This is work for all livewire page in any Laravel Project, not just Filament. Please also make sure CSS File are pulished properly, and then import the css file and Livewire compoent while use in other Laravel Project.
<link rel="stylesheet" href="{{ asset('css/filament-chatgpt-bot/chatbot.css') }}">
@livewire('filament-chatgpt-bot')
Changelog
Please see CHANGELOG for more information on what has changed recently.
Security Vulnerabilities
Please review our security policy on how to report security vulnerabilities.
Credits
Support
Any Problem please email: martin.hwang@outlook.com.